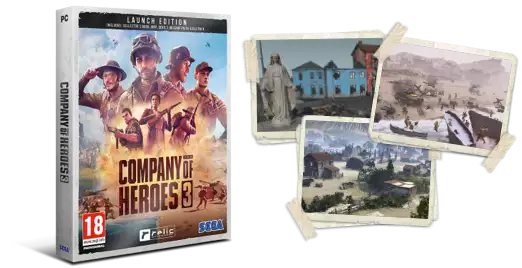
Experience the dynamic campaign in game with
  Find out more
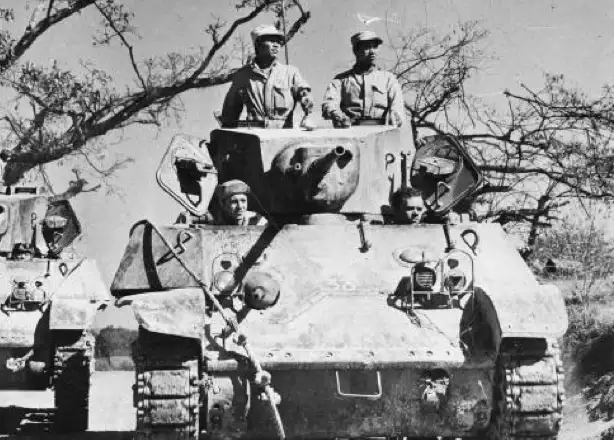
Armoured vehicles and artillery played a crucial role in the Second Battle of El Alamein, which ultimately led to the downfall of the Axis in the Western Desert Campaign. In total, El Alamein saw the deployment of more than 1000 Allied and 500 Axis tanks.

Expert input from historian and author
Professor Simon Ball
Some models were deployed in battle for the first time at El Alamein. Ranging from lightweight Italian tanks designed for scouting missions to heavy, American-built Shermans, the technology and morale of both sides was put to the test.
“The Germans…had [gun] superiority in the previous battles, but…at El Alamein…the British re-equipped their armoured divisions.”
– Professor Simon Ball
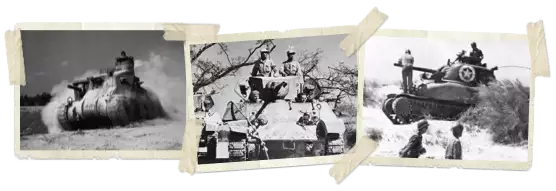
M3 Grant
M3 'Honey'
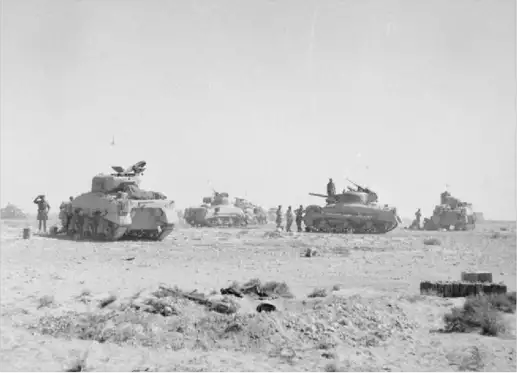
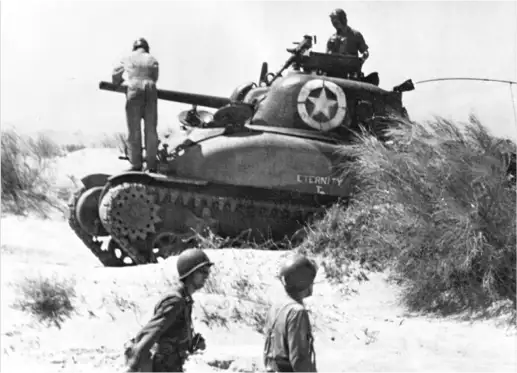
M4 Sherman

Crusader II
Crusader III Cruiser
Valentine
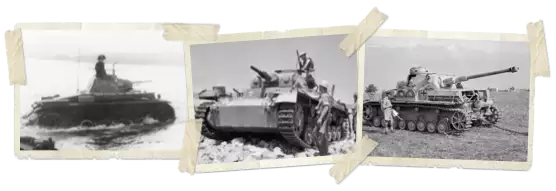
Panzer II
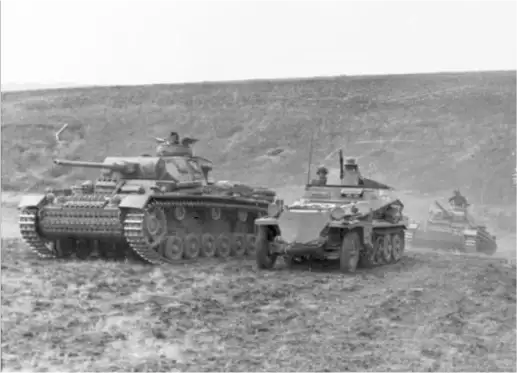
Panzer III
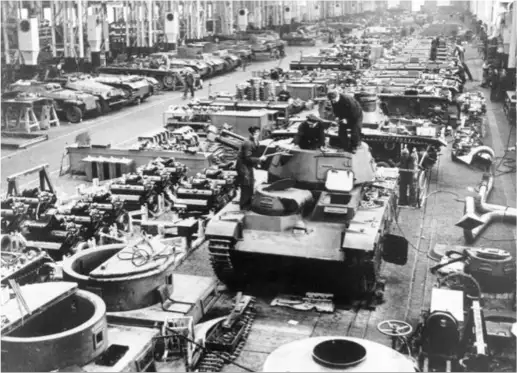
Panzer IV
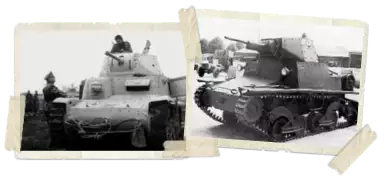
M13/40
L6/40

The US built M3 Lee was a medium tank often deployed for use by the British army – including the Desert Rats at El Alamein. Designed to house two styles of turret (the British one allowing a radio to be placed beside the commander), those with the British-style turrets were known as an M3 ‘Grant’ tank. Strong firepower and heavy armour made the M3 a formidable piece of kit, but their 75mm gun was unable to rotate and could only fire in a straight line.
Weight 42 tonnes
Crew 6
Max Speed 26mph
Guns 75mm 37mm
Armour (thickest) 51mm
Deployed 170
The M3 Stuart was an American tank that won its nickname ‘Honey’ due to its smooth ride and general reliability. A light tank, with a turret gun of just 37mm, the Stuart was designed to aid infantry and scout out enemy territory. Famous for its ability to ‘scoot and shoot’, it was the first US tank to be used by the British and was still in use by some nations up until the 1980s.
Weight 15 tonnes
Crew 4
Max Speed 36mph
Guns 37mm
Armour (thickest) 51mm
Deployed 119

The most widely used tank by the Allies throughout the Second World War, the US-built M4 Sherman also formed the main bulk of the Allied tanks used in the Second Battle of El Alamein. An improvement on the M3 tank, the Sherman saw an increase in reliability, ease of production and an adaptability that allowed it to be used for a variety of roles. When compared to other tanks used in El-Alamein, the M4 Sherman is often considered to be the best.
Weight 42 tonnes
Crew 5
Max Speed 30mph
Guns 75/76mm
Armour (thickest) 176mm
Deployed 252
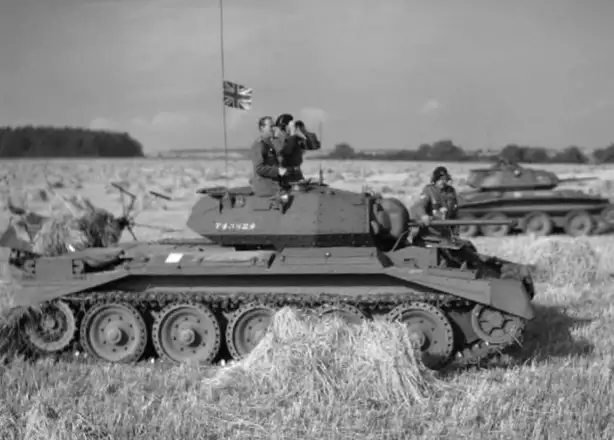
Vital to the North African campaign, the Crusader was one of the main British ‘cruiser’ tanks used during the early years of the war. It was designed to be small, light, and nimble, while still capable of posing a threat to German medium tanks. A more heavily- armoured version of the Crusader I, the II was soon to be phased out after the Second Battle of El Alamein.
Weight 20 tonnes
Crew 4-5
Max Speed 26mph
Guns 40mm
Armour (thickest) 49mm
Deployed 216
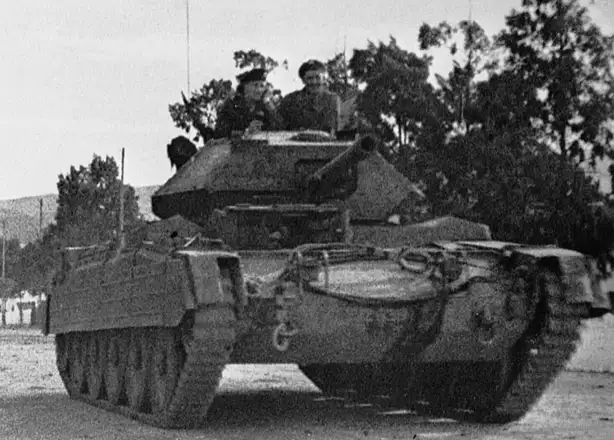
The British Crusader III first saw action in the Second Battle of El Alamein. Up-gunned and more heavily equipped than previous iterations, the Crusader wasn’t used outside of Northern Africa, but could be counted on for its reliability and adaptability in a variety of roles – even though it lacked serious armour.
Weight 20 tonnes
Crew 3
Max Speed 26mph
Guns 57mm
Armour (thickest) 51mm
Deployed 78

A strong and reliable tank that proved invaluable in the North African campaign, the Valentine Tank was designed to support British infantrymen. These heavily armoured vehicles were capable of close-quarter fighting – though became rapidly outdated as the war drew on.
Weight 16 tonnes
Crew 3
Max Speed 15mph
Guns 40mm
Armour (thickest) 65mm
Deployed 194
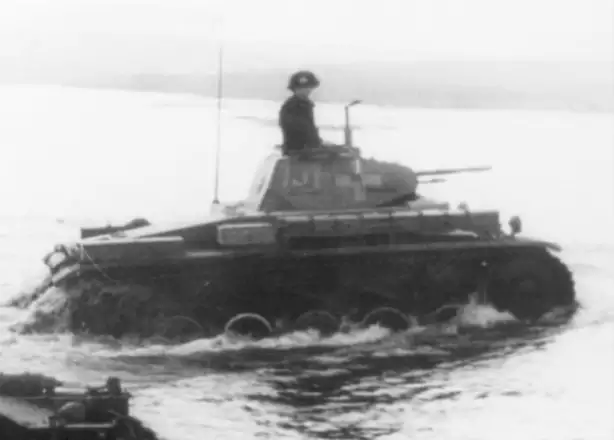
While originally designed as a stopgap until better German tanks could be developed, the lightweight Panzer II was still a formidable vehicle, especially in the early years of the war. Seeing action on both fronts, the Panzer II’s role in North Africa saw it fare well against Allied infantry.
Weight 8.8 tonnes
Crew 3
Max Speed 24.5mph
Guns 20mm
Armour (thickest) 15mm
Deployed 31
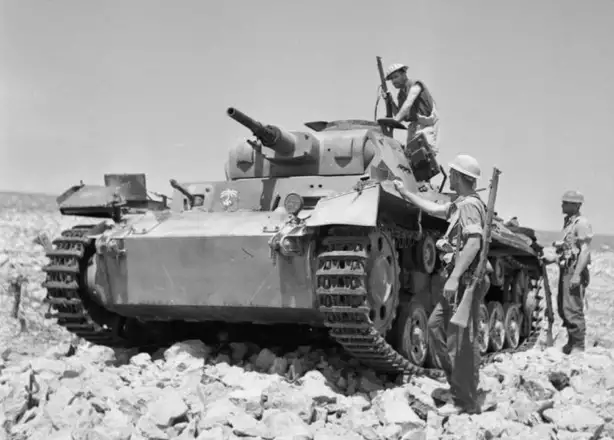
Originally designed to fight other armoured vehicles, the German Panzer III was quickly outgunned by Allied tanks. To counter this, the German army upgraded their Panzer IV’s to fight tanks and the Panzer III became an effective infantry tank. At the second battle of El Alamein, both long and short-barrelled versions of the Panzer III were in use.
Weight 25.4 tonnes
Crew 5
Max Speed 25mph
Guns 37/50/75mm
Armour (thickest) 15/30/50mm
Deployed 173

The most widely used tank in the German army during World War Two, the Panzer IV saw various upgrades, modifications and adaptations throughout its years of service. Only a handful were deployed during the Second Battle of El Alamein, and despite being able to penetrate Allied tanks, they were still vastly outnumbered.
Weight 24.6 tonnes
Crew 5
Max Speed 26mph
Guns 75mm
Armour (thickest) 80mm
Deployed 38
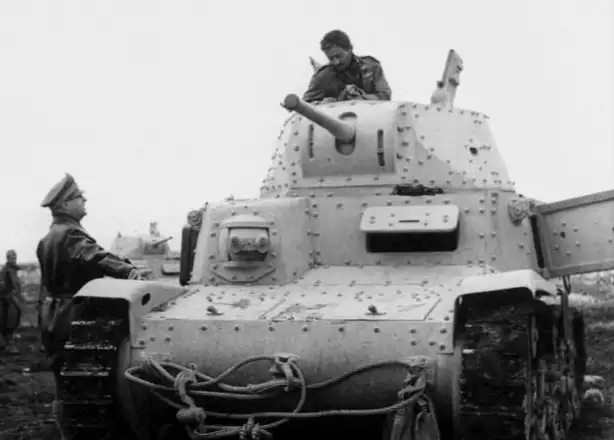
The Carro Armato M13/40 was the primary tank used by the Italians during the conflict. Making up the vast majority of Italian tanks during the Second Battle of El Alamein, the M13/40 struggled against Allied opposition. A relatively weak engine, lack of crew experience, and inadequate armour meant that the M13/40 was at a severe disadvantage.
Weight 14 tonnes
Crew 4
Max Speed 19.8mph
Guns 47mm
Armour (thickest) 42mm
Deployed 278
An Italian light tank well suited for scouting missions, or useful when facing off against light vehicles, the L6/40 was however generally no match for the medium tanks in use during the conflict. A lack of effective armour throughout the Italian forces meant that L6/40s were used as measure of last resort and were overall ineffective.
Weight 6.8 tonnes
Crew 2
Max Speed 26mph
Guns 20mm
Armour (thickest) 40mm
Deployed 20
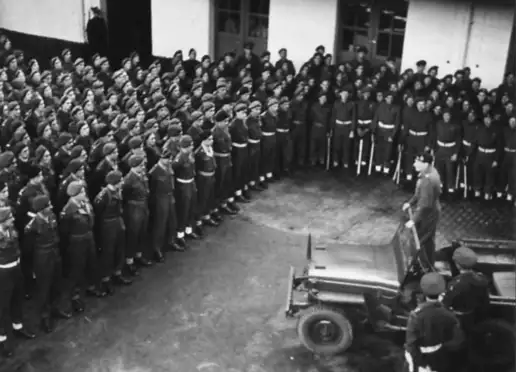
"All that is necessary is that each and every officer and man should enter this battle with the determination to see it through, to fight…and finally to win. If we do this, there can be only one result - together, we will hit the enemy for six out of Africa."
– General Bernard Montgomery, October 1942

Did you know?
Allied tanks outnumbered the Axis tanks almost two to one: approximately 1,029 Allied tanks v 547 Axis tanks
Did you know?
The combined weight of all the Allied tanks at El Alamein was roughly 25,950 tonnes. That’s about the weight of 5,000 average-sized African elephants.
The Axis in comparison numbered about 9,650 tonnes of armour (or 2,000 elephants).
Did you know?
As popular and effective as the Sherman Tank was, it was also prone to catching fire once hit by an enemy shell. This earned them the grim nickname ‘Tommy Cookers’ from the Germans.
Did you know?
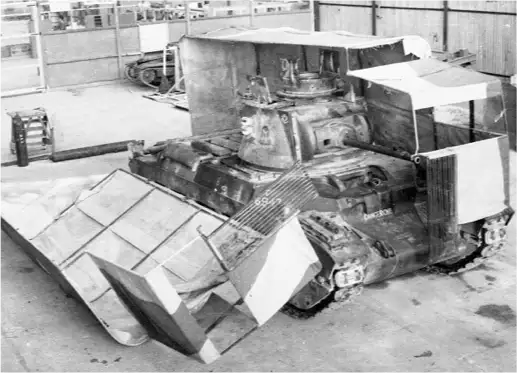
In the lead-up to the battle, the Allies disguised tanks as supply trucks from German reconnaissance by covering them with plywood frames. Meanwhile, Jeeps were covered with plywood tank frames to trick the Germans into thinking the Allied armour was further south than they really were.
Did you know?
During the Second World War, tanks were split into classes. Lightly armoured and faster tanks were better suited to assisting infantry, whereas heavier, more powerful tanks were designed to fight other armoured vehicles. Today tanks are no longer considered by class, with most capable of performing both roles well.
For comparison, the Challenger 2 is capable of travelling at 37mph, has a 120mm gun and can weigh up to 75 tonnes.

Did you know?
The Axis also used some Marder tank destroyers that they adapted with captured Russian 76.2mm guns – mounted on a Panzer 38t chassis.
While we have a good idea of how many tanks were deployed at the start of the battle, knowing how many were left at the end is more difficult. Most anti-tank mines were designed to blow off the tank tracks, effectively immobilising the vehicle. However, the British had a ‘waste-not-want-not’ approach to their tanks, repairing and repatching units if they weren’t too damaged!
Watch the Art & Authenticity Dev Diary, hosted by our Community Manager John, and Amar & Kristian, Artists on Company of Heroes.
Professor Simon Ball
Simon Ball is a professor of International History and Politics at Leeds University. He specialises in the Second World War, the Cold War, and Secret Intelligence.
©Relic Entertainment. All rights reserved. Developed by Relic Entertainment. Entertainment, the Relic Entertainment logo, Company of Heroes and the Company of Heroes logo are either registered trademarks or trademarks of Relic Entertainment. Relic Entertainment is registered in the U.S. Patent and Trademark Office. All other trademarks, logos and copyrights are property of their respective owners.


.webp)